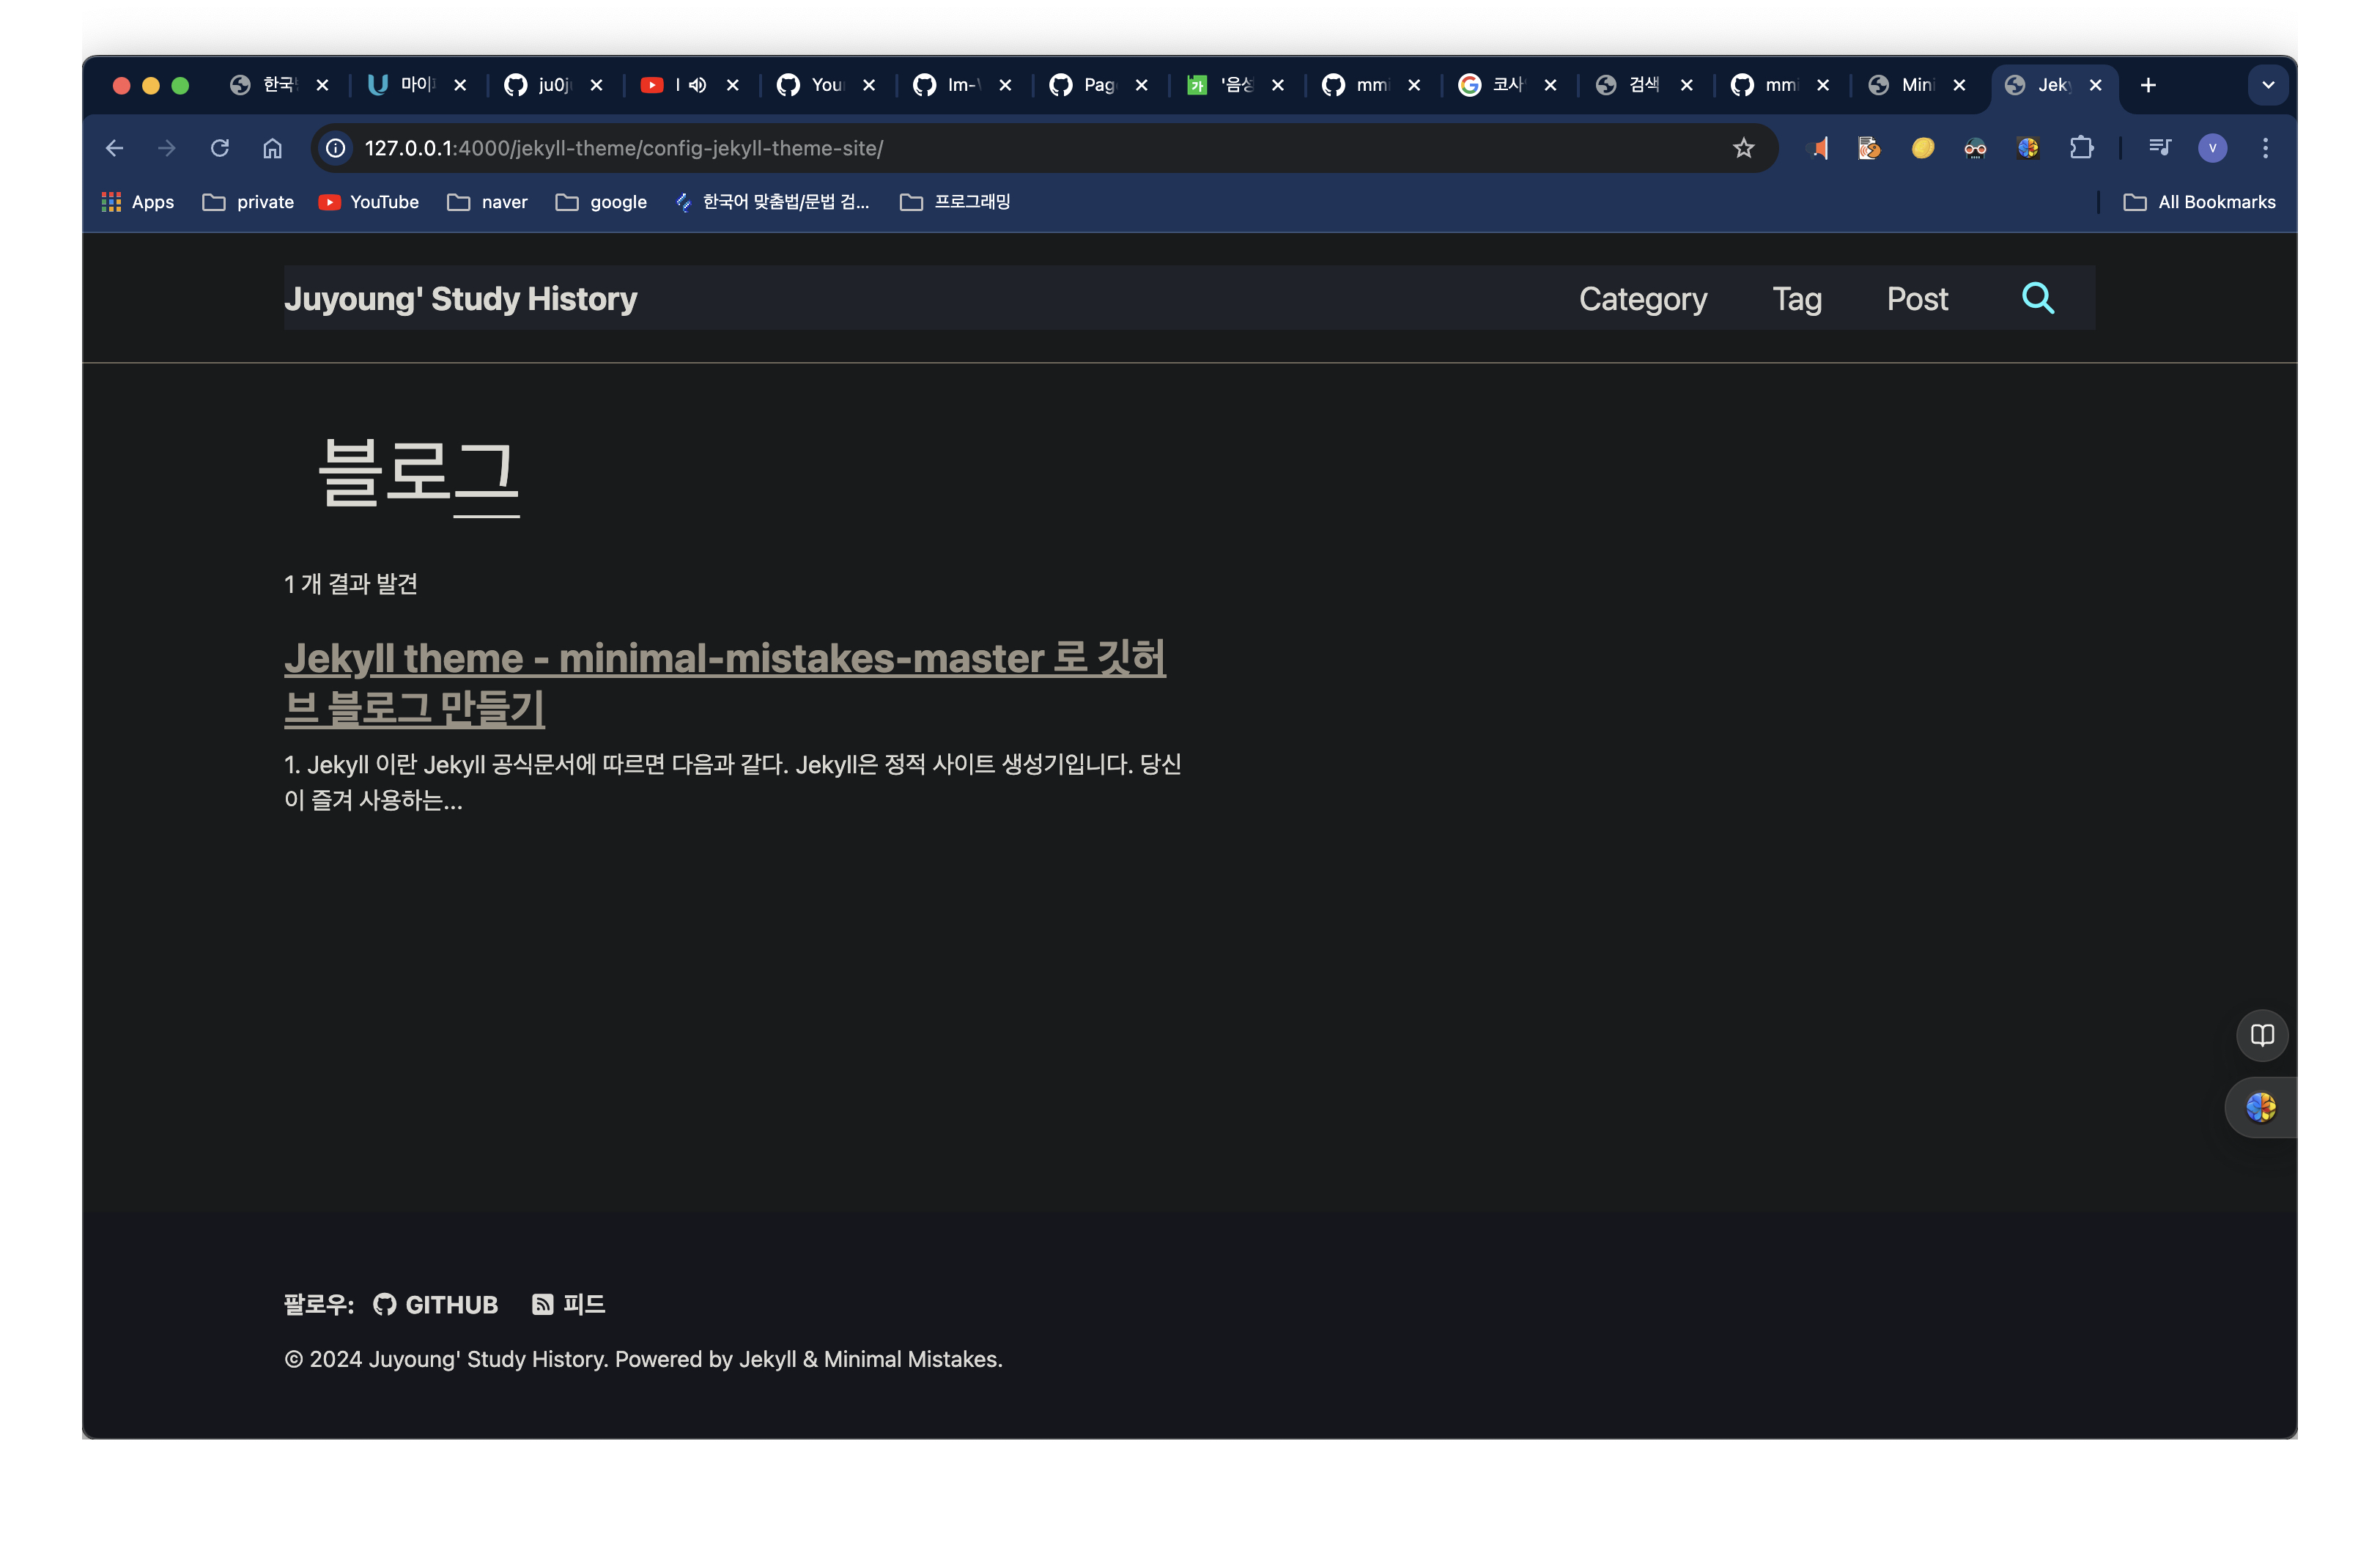
Jekyll theme로 깃허브 블로그 만들기
다음 내용은 Jekyll theme - minimal-mistakes-master의 기본 설정을 중심으로 다루고 있다.
1. Jekyll 이란
Jekyll 공식문서에 따르면 다음과 같다.
Jekyll은 정적 사이트 생성기입니다. 당신이 즐겨 사용하는 마크업 언어로 작성된 텍스트를 Jekyll 에 넘겨주면 레이아웃을 사용해 정적 웹사이트를 생성합니다.
github에서 개발한 툴이고 마크다운이 지원되어 개발자들이 많이 사용하는 블로그 툴이라고 볼 수 있다. 나 또한 티스토리, 벨로그 등등을 거쳤다가 다시 돌아왔다. Markdown 언어에 익숙해지기도 했고 깃허브에 블로그 소스를 저장해놓고 관리할 수 있기 때문이다.
- Jekyll의 원리를 이해하고 싶다면 다음 github로 블로그 시작하기 : (1) Jekyll 은 어떤 방식으로 동작하는 걸까? 글을 정독하길 추천한다.
2. jekyll theme 고르기
나는 im-wail님의 글를 보고 minimal-mistakes-master가 다양한 기능을 제공하여 선택했다. fork한 후 설정하는 법은 다음과 같다.
3. _config.yml 설정하기
yml은 들여쓰기 하나 잘못되도 에러가 나므로 조심히 수정을 해야한다. 예를 들어 검색 기능을 활성화하고 싶다면 다음과 같이 설정한다.
search                   : true # true, false (default)
search_full_content      : true # true, false (default)

4. Disqus 연동하기
_config.yml의 comments과 defaults comments 부분을 다음과 같이 수정해준다.
comments:
  provider               : "disqus"# false (default), "disqus", "discourse", "facebook", "staticman", "staticman_v2", "utterances", "giscus", "custom"
  disqus:
    shortname            : "https-ju0jung"# https://help.disqus.com/customer/portal/articles/466208-what-s-a-shortname-
  discourse:


# Defaults
defaults:
  # _posts
  - scope:
      path: ""
      type: posts
    values:
      layout: single
      author_profile: true
      toc: true # add right sidebar
      toc_sticky: true
      read_time: false
      comments: true # 이 부분 주석 해제
      share: true
      related: true
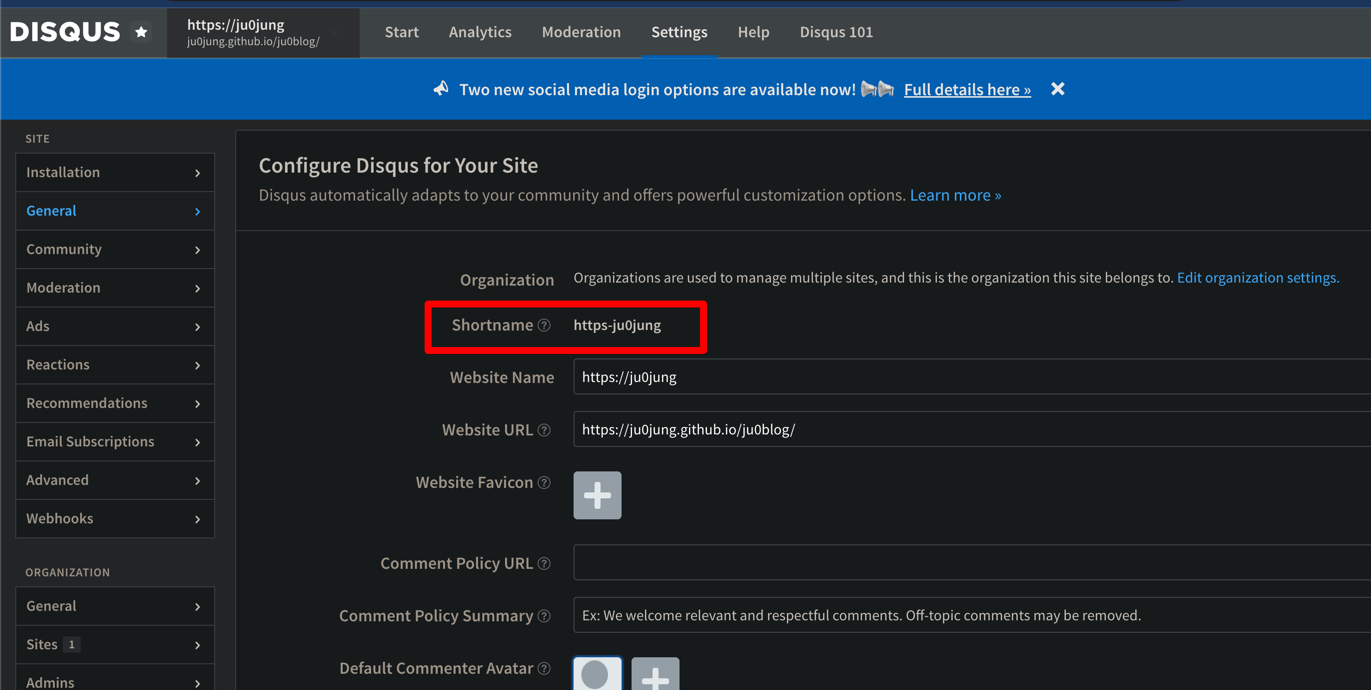
먼저 disqus shortname의 경우 다음과 같이 디스커스에 만든 본인 사이트의 admin/settings/general탭으로 가면 확인할 수 있다.
참고로 나의 경우는 사이트 url이 https://https-ju0jung.disqus.com/admin/settings/general/ 인데 shortname(https-ju0jung)이 url 중간에 들어간 것을 알 수 있다.

- 디스커스 사이트 만드는 법은 GitHub Pages vol.2 Disqus 댓글 기능 추가하기 를 참고했다.
5. navigation 수정하기
_data/navigation.yml 파일을 원하는 tab이 보이도록 수정한다.
# main links
main:
#  - title: "Quick-Start Guide"
#    url: https://mmistakes.github.io/minimal-mistakes/docs/quick-start-guide/
  # - title: "About"
  #   url: https://mmistakes.github.io/minimal-mistakes/about/
  # - title: "Sample Posts"
  #   url: /year-archive/
  # - title: "Sample Collections"
  #   url: /collection-archive/
  # - title: "Sitemap"
  #   url: /sitemap/
  - title: "Category"
    url: /categories/
  - title: "Tag"
    url: /tags/
  - title: "Post"
    url: /
그 후 _pages에 categories와 tags url에 해당하는 페이지를 마크다운 파일 형식으로 만들어주었다.
---
title: "Posts by Tag"
permalink: /tags/
layout: tags
author_profile: true
---
6. post 배포 후 모습 확인하기
터미널로 실행하려면 ruby와 bundle package가 설치되어 있어야 한다.
- 설치가 안되어 있다면 gem 권한 에러 해결하기(Gem::FilePermissionError)를 참고해 설치를 해준다.
- 다음 명령어를 입력하면 Jekyll 서버가 내 컴퓨터에서 실행된다.
brew install rbenv ruby-build
rbenv install 3.3.4 # 3.3.4 자리에 원하는 버전을 넣어 설치해주면 된다
rbenv global 3.3.4
vi ~/.zshrc실행해서.zshrc에 다음 코드 추가하고source ~/.zshrc실행하기[[ -d ~/.rbenv ]] && \ export PATH=${HOME}/.rbenv/bin:${PATH} && \ eval "$(rbenv init -)"- bundle을 설치해준다.
gem install bundle
- bundle 실행 전 Gemfile을 다음과 같이 수정해준다. im-wail님의 깃허브 코드를 참고했다.
source "https://rubygems.org"

gem "github-pages", group: :jekyll_plugins
gem "minimal-mistakes-jekyll", path: ".."
gem "rake"

gem "tzinfo-data"
gem "wdm", "~> 0.1.0" if Gem.win_platform?

# If you have any plugins, put them here!
group :jekyll_plugins do
  gem "jekyll-paginate"
  gem "jekyll-sitemap"
  gem "jekyll-gist"
  gem "jekyll-feed"
  gem "jemoji"
  gem "jekyll-include-cache"

end
- bundle exec jekyll serve로 서버 실행하기!
bundle
bundle exec jekyll serve
- 다음과 같은 문구가 터미널에 나왔다면 성공. server address 링크로 들어가면 된다.
Configuration file: /Users/juyoung/pjs/voice-processing/_config.yml
            Source: /Users/juyoung/pjs/voice-processing
       Destination: /Users/juyoung/pjs/voice-processing/_site
 Incremental build: disabled. Enable with --incremental
      Generating...
       Jekyll Feed: Generating feed for posts
                    done in 1.615 seconds.
 Auto-regeneration: enabled for '/Users/juyoung/pjs/voice-processing'
    Server address: http://127.0.0.1:4000
  Server running... press ctrl-c to stop.
댓글남기기